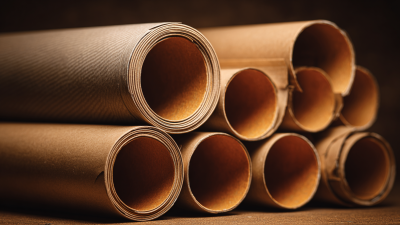
How to Make Paper Tubes at Home Step by Step Guide
Creating your own paper tubes at home can be a fun and rewarding craft project. Whether you're looking to recycle cardboard from household items or want to create unique and customizable storage solutions, making paper tubes offers a versatile approach to crafting. The process requires minimal materials and tools, making it accessible even for beginners. By following this step-by-step guide, you'll learn how to transform simple sheets of paper or cardboard into strong and functional paper tubes.
Paper tubes have a wide range of applications, from organizing craft supplies to creating innovative decorations. They serve as the foundation for various DIY projects, allowing you to explore your creativity while being eco-friendly. With just a few simple steps, you can produce paper tubes in different sizes and shapes, tailoring them to suit your needs. Get ready to embark on this engaging crafting journey that not only enhances your home but also promotes sustainable practices through recycling.
Materials Required for Making Paper Tubes at Home
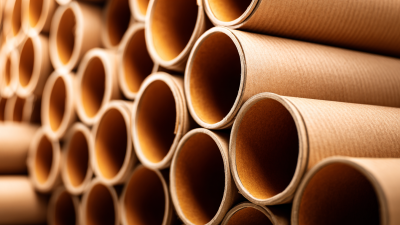
To make paper tubes at home, you will need a few essential materials that are common and easily accessible. First and foremost, start with sheets of paper; recyclable paper like printer or newspaper works perfectly. As per a report by the Paper and Paperboard Packaging Environmental Council, the recycling rate for paper and paperboard was approximately 66% in 2021, highlighting the abundance of suitable materials around us. Along with paper, you'll need a strong adhesive—such as glue or tape—to secure the layers together. This reinforces the structure and ensures durability, making the tube usable for various applications.
In addition to paper and adhesive, a cylindrical object or mold is necessary for shaping your tube. This can be anything from a wooden dowel to a used cardboard roll, which provides the perfect template. According to the Environmental Protection Agency, cardboard and paper make up significant proportions of municipal solid waste, accounting for about 23% of recyclables, thus your project not only preserves resources but also promotes sustainability. Finally, scissors for cutting the paper and a ruler for measuring dimensions will help achieve precision in your tube-making process, allowing for uniformity in size and shape. By selecting the right materials, you'll not only create sturdy paper tubes but also contribute toward waste reduction and environmentally friendly practices.
Step-by-Step Process for Crafting Paper Tubes
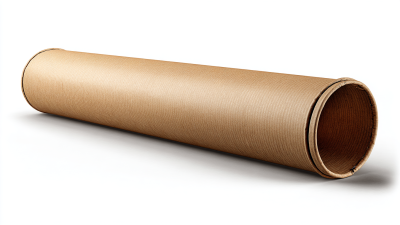
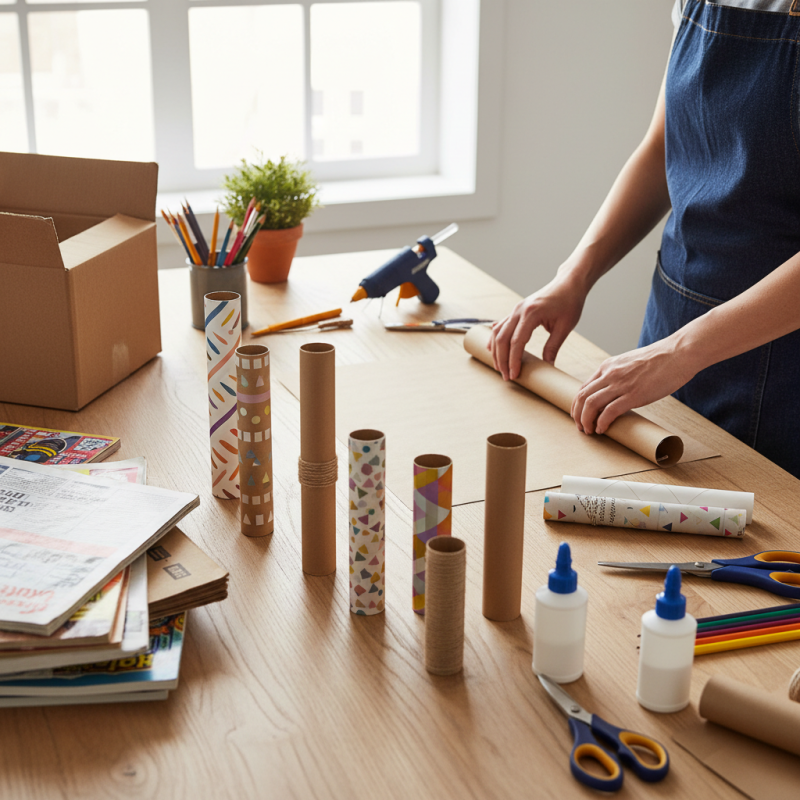
To craft paper tubes at home, gather the necessary materials: empty paper rolls, glue, scissors, and a ruler. Start by measuring the desired length of your paper tube. Using the ruler, mark the measurements along the paper roll and cut it to size with scissors. Ensure the edges are smooth to prevent any tearing during the wrapping process.
Next, take a piece of decorative paper or plain paper of your choice and cut it into a strip that is long enough to wrap around the paper roll. Apply glue evenly along one side of the paper strip. Carefully start wrapping it around the cut paper roll, making sure to align it properly and keep it taut. Seal the end with a bit more glue, pressing it down to create a secure bond. Allow the glue to dry completely before using your homemade paper tube for various crafts or storage solutions. This simple, step-by-step guide makes it easy to create personalized tubes tailored to your needs.
Best Techniques for Rolling and Shaping Paper Tubes
When it comes to crafting paper tubes at home, mastering the techniques for rolling and shaping is essential. Begin by selecting a suitable paper type, like craft paper or lightweight cardboard, as these choices offer the right sturdiness without compromising flexibility. To start rolling, lay the paper flat and use a ruler to draw even lines that will determine the width of your tube. This precision will ensure uniformity in size, making your final product look neat and professional.
Once you have your paper prepared, carefully start rolling it around a cylindrical object, such as a pen or a dowel, to form the tube shape. As you roll, maintain even pressure to avoid any wrinkles or misalignments. To secure the ends, use glue or tape sparingly, ensuring it does not create excess bulk that could distort the shape. Remember, patience is key—allow the glue to dry completely before handling your tubes for the best results.
Tips: For added strength, consider layering two pieces of paper when rolling your tubes. This will provide extra durability and support, particularly if you plan to use the tubes for storage or structural purposes. Additionally, experiment with different diameters by adjusting the size of the cylindrical object you use for rolling; this can lead to a variety of applications in your crafting projects. Keep practicing different techniques, and you’ll find the perfect method that suits your needs!
How to Make Paper Tubes at Home Step by Step Guide - Best Techniques for Rolling and Shaping Paper Tubes
| Step |
Materials Required |
Technique |
Tips |
| 1 |
Paper, Scissors, Glue, Ruler |
Cut paper into strips of desired width. |
Use a ruler for straight cuts. |
| 2 |
Paper Strips |
Roll the paper strip around a stick or dowel. |
Keep it tight for a sturdy tube. |
| 3 |
Glue |
Secure the end of the paper with glue. |
Allow to dry for better hold. |
| 4 |
Dowel or Stick |
Carefully slide out the stick or dowel. |
Do this slowly to avoid tearing. |
| 5 |
Finished Tube |
Trim the ends for a clean finish. |
Use scissors for precise cuts. |
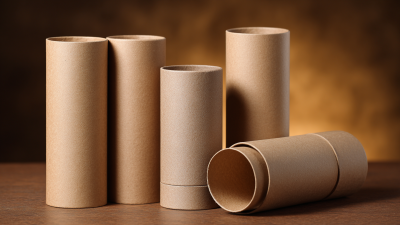
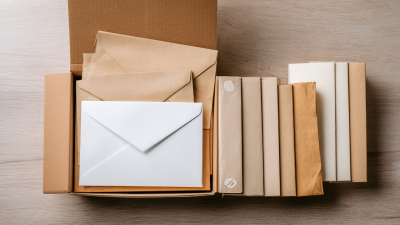
Common Uses of Paper Tubes in Crafts and DIY Projects
Paper tubes are not just a recycling project; they are versatile components that can elevate your crafts and DIY projects. From holiday decorations to unique storage solutions, the potential applications are vast. According to industry insights, the demand for eco-friendly materials in crafting has risen by over 25% in recent years, making paper tubes an excellent choice for sustainable projects.
In crafting, paper tubes can be transformed into a variety of functional and decorative items. For instance, they can be painted and embellished to create custom candle holders, or cut into smaller sections to make stylish jewelry organizers. Moreover, educational crafts for children often utilize paper tubes for building models and engaging in imaginative play. The possibilities are truly limited only by your creativity.
Tip: When using paper tubes for crafting, consider reinforcing them with additional layers or decorative tape for added durability. This will ensure that your projects hold up over time, especially if they are to be used frequently or displayed prominently.
Tip: If you're working with children on craft projects, pre-cut the tubes into manageable sizes to reduce frustration and allow for more focus on decoration and assembly. This will help to create a fun and engaging crafting environment.
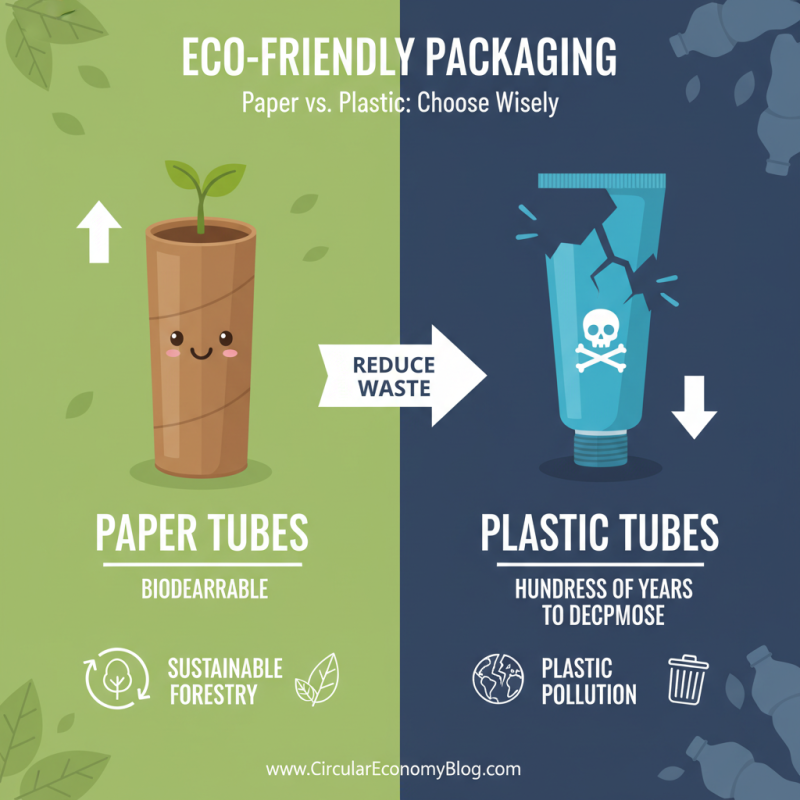
Environmental Benefits of Using Paper Tubes Over Plastic
Using paper tubes instead of plastic ones offers significant environmental benefits. Paper is biodegradable, meaning it breaks down naturally over time, reducing landfill waste. In contrast, plastic tubes can take hundreds of years to decompose, contributing to the global plastic pollution crisis. By choosing paper tubes, we also support sustainable forestry practices; many paper products are made from recycled materials or sustainably sourced paper, promoting a circular economy that minimizes environmental impact.
Tips for making your own paper tubes at home include selecting appropriate materials, such as old newspapers or craft paper, which can easily be transformed into functional tubes. Ensure you use water-based adhesives to avoid harmful chemicals. Additionally, experiment with varying designs and sizes to find what best suits your needs while also reducing the amount of plastic in your life. By creating these tubes, you'll not only foster creativity but also contribute to a healthier planet.